Strips, fillers, panels, and countertops are elements designed to ensure that a project fits perfectly within the available space, from the furniture to the floor, wall, or ceiling. For this reason, most of them come in standard sizes and need to be adjusted on-site during installation.
To achieve an optimal result and prevent material shortages, we manufacture them with a few extra centimeters, allowing you to cut and adjust them easily.
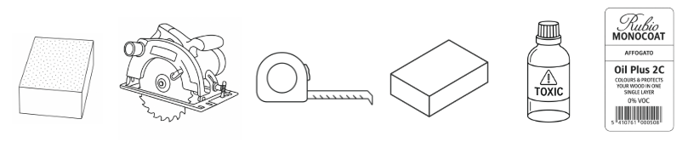
Tools Needed
- Measuring tape
- Circular saw with a cutting guide
- Sandpaper
- CUBRO cleaning kit
Instructions
If your project uses LACQUER or WOOD finishes, please note that the MDF core will be exposed at the cut edge. We recommend keeping it hidden against walls, floors, or other fronts.
In the case of LAMINATE or LINOLEUM finishes, the plywood edge must be oiled after cutting.
1. Measurement
Carefully measure the part you need to cut.
2.. Cutting
Use a circular saw for cutting, always from side B and using the guide to ensure a straight cut. Side B is marked with a sticker showing the part ID and its dimensions.
Before cutting, double-check that the measurements are correct.

3. Sanding
After cutting, sand the sharp edges to achieve a smooth, continuous finish.
4. Cleaning
Use the solvent provided in the envelope on a cotton cloth to clean any remaining dirt.
⚠️ Once the process is complete, soak and dispose of the cloth used to apply the solvent, as the product is toxic.
Additional steps for LAMINATE or LINOLEUM finishes:
5. Beveling
For LINOLEUM or LAMINATE finishes with a birch plywood core, bevel the edges at a 45º angle, reducing the edge by up to 1 mm.

6. Oiling
Apply two coats of oil. Put a small amount on a soft cotton cloth and go over the entire surface of the edge.
7. Cleaning
Immediately clean any oil stains from the front surface.
⚠️ Once the process is complete, soak and dispose of the cloth used to apply the solvent, as the product is toxic.